Sign In
New Customer? Create an Account
Slatwall 101: A Step-by-Step Guide on Installation for Optimal Organization and Display

Building the store of your dreams requires careful planning and the right tools. When it comes to maximizing your space and creating a functional display, Slatwall is a game-changer. You may be wondering, what is slatwall, and how can you install it? In this blog, we'll guide you through the process of installing a slatwall, including hanging it, attaching it to the wall, and installing it on concrete or drywall surfaces.
What is Slatwall and why Should you Consider it?
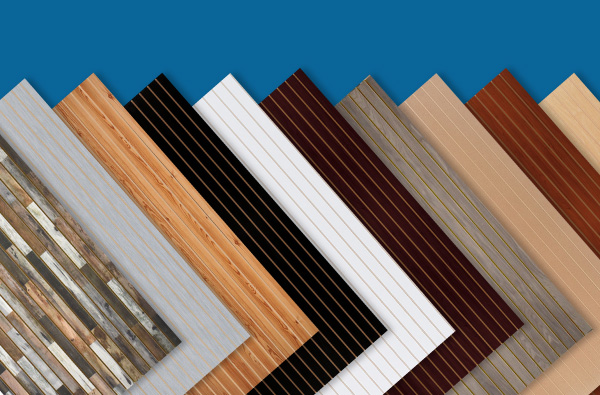
Slatwall, also known as slatboard or slatewall, is a type of wall paneling that features horizontal slots or grooves. These slots serve as a versatile storage solution, allowing you to hang hooks, shelves, brackets, and other accessories. It's commonly used in retail stores, providing an efficient and flexible way to showcase products and maximize display space. But it's not just for retailers – Slatwall can also be a great addition to your garage, home office, or even your living room, helping you stay organized and create a customized space that suits your needs.
Installing Slatwall: Step-by-Step Guide
Now, let's dive into the installation process:
1. Measure and Plan Your Space
Before diving into installation, take precise measurements of the area where you want to install the Slatwall. Do you want a full wall covered or just a portion of it? Knowing the dimensions will help you determine how many panels you need and where to position them.
2. Prepare the Wall Surface
Properly preparing the wall surface is crucial for a secure and durable installation. If you're installing Slatwall on a concrete wall, use masonry screws and anchors. For drywall, opt for toggle bolts or similar hardware. Newer construction commercial buildings have metal studs in the wall. This is tricky when installing slatwall because if you do not know the walls have metal studs the bolts and anchors will not secure properly. The hardware will spin against the studs. To assist with this, we include different types of wall applications within the PDF of the installation. Start by marking the position where you want to install the slatwall. Then, drill holes and install the necessary hardware, ensuring the surface is level and smooth.

3. Trim and Cut
If you need to customize the Slatwall panels to fit your space, measure and mark the areas that require trimming. Use a circular saw or jigsaw to carefully cut the panels. Remember to follow all safety guidelines and wear appropriate protective gear.
4. Hang the Slatwall Panels
Now it's time to hang the Slatwall panels. Begin at the bottom of the wall and work your way up. Slide the panel onto the screws or anchors, ensuring a snug fit. To secure the panel in place, use wood screws, making sure to level it before proceeding to the next panel. Repeat this step until all panels are installed.
5. Add Accessories and Enhancements
With the Slatwall panels securely in place, it's time to accessorize and optimize your display. Choose from a wide range of peghooks, shelves, brackets, and other accessories to best showcase your products or organize your belongings. With the ability to easily rearrange and rearrange your display, Slatwall gives you the flexibility to adapt your space as your needs evolve.


Transform Your Space With Slatwall
Slatwall is more than just a wall paneling system – it's a versatile solution that allows you to create a customized and functional space that fits your unique needs. By following these installation steps, you can confidently install slatwall on various surfaces, be it concrete or drywall. And remember, when you shop with Store Supply Warehouse, you can count on fast shipping, low prices, and excellent customer service to help bring your retail dreams to life. So go ahead, explore the possibilities, and let Slatwall transform your space into the store of your dreams.
